Django's MVC
Last modified: 12-23-2014
In Practise: Django’s MVC
You’re expected to run the demo project successful before we actually start to go through Django framework.
1. Configuration of Demo Project
-
First, ensure your machine have installed Python and Pip. You can check by simply typing “python” and “pip” in the command line. If not, go to the Python.org and Pip Installation
-
Install a MySQL server on your machine (You may use “apt-get” for Ubuntu, homebrew for Mac. Go to google and you’ll find everything). Note down your username and password. Also install MySQL-python. You can just type “pip install MySQL-python”
-
Uncompress the code archive provided.
-
Enter the code directory(
src/). Type “make install”. This will install all the other library dependencies for you. -
Now we set up the database. For the first step, create a database named web_dev_tutorial. To do this, simply typing:
mysql -u <your username> -p<your password>in the command line should make you enter the mysql client. Then type:
create database web_dev_tutorial;will create a new database instance. Then, we link the project with our database. Use text editor to open
src/web_dev_tutorial/settings.py, find the following configurations:DATABASES = { 'default': { 'ENGINE': 'django.db.backends.mysql', 'NAME': "web_dev_tutorial", 'USER': 'root', 'PASSWORD': 'root', } }Change the user name and password to yours. When you’re done, type
python manage.py migrate --run-syncdbto create all the tables -
Now we load some test data into the database. Check that under
data/there’s a fileparse.pyand a directory named “rawdata”, which contains a lot of text files (the Reuters-21578 dataset).Change directory into
test/directory, open the fileconfig.pyin text editor, you’ll see something like:# If you're using locally installed mysql, you don't need to change the host and port MYSQL_HOST = '127.0.0.1' MYSQL_PORT = 3306 # Change the user name and password to your owns MYSQL_USERNAME = 'root' MYSQL_PASSWORD = 'root' # These should not be changed MYSQL_DB_NAME = 'web_dev_tutorial'Under most circumstances, you’ll only need to change the MYSQL_USERNAME and MYSQL_PASSWORD to the username and password of your local mysql installation.
After all of these, type
make loadunder the directory oftest/. This will automatically parse all the text files and save the result, then load the result into the database. -
Under
src, type “make”. Now it should shows something like:December 15, 2014 - 15:49:57 Django version 1.7.1, using settings 'web_dev_tutorial.settings' Starting development server at http://127.0.0.1:8000/ Quit the server with CONTROL-CIf so then the server is running. You can verify this by visiting http://localhost:8000. You should see something like:
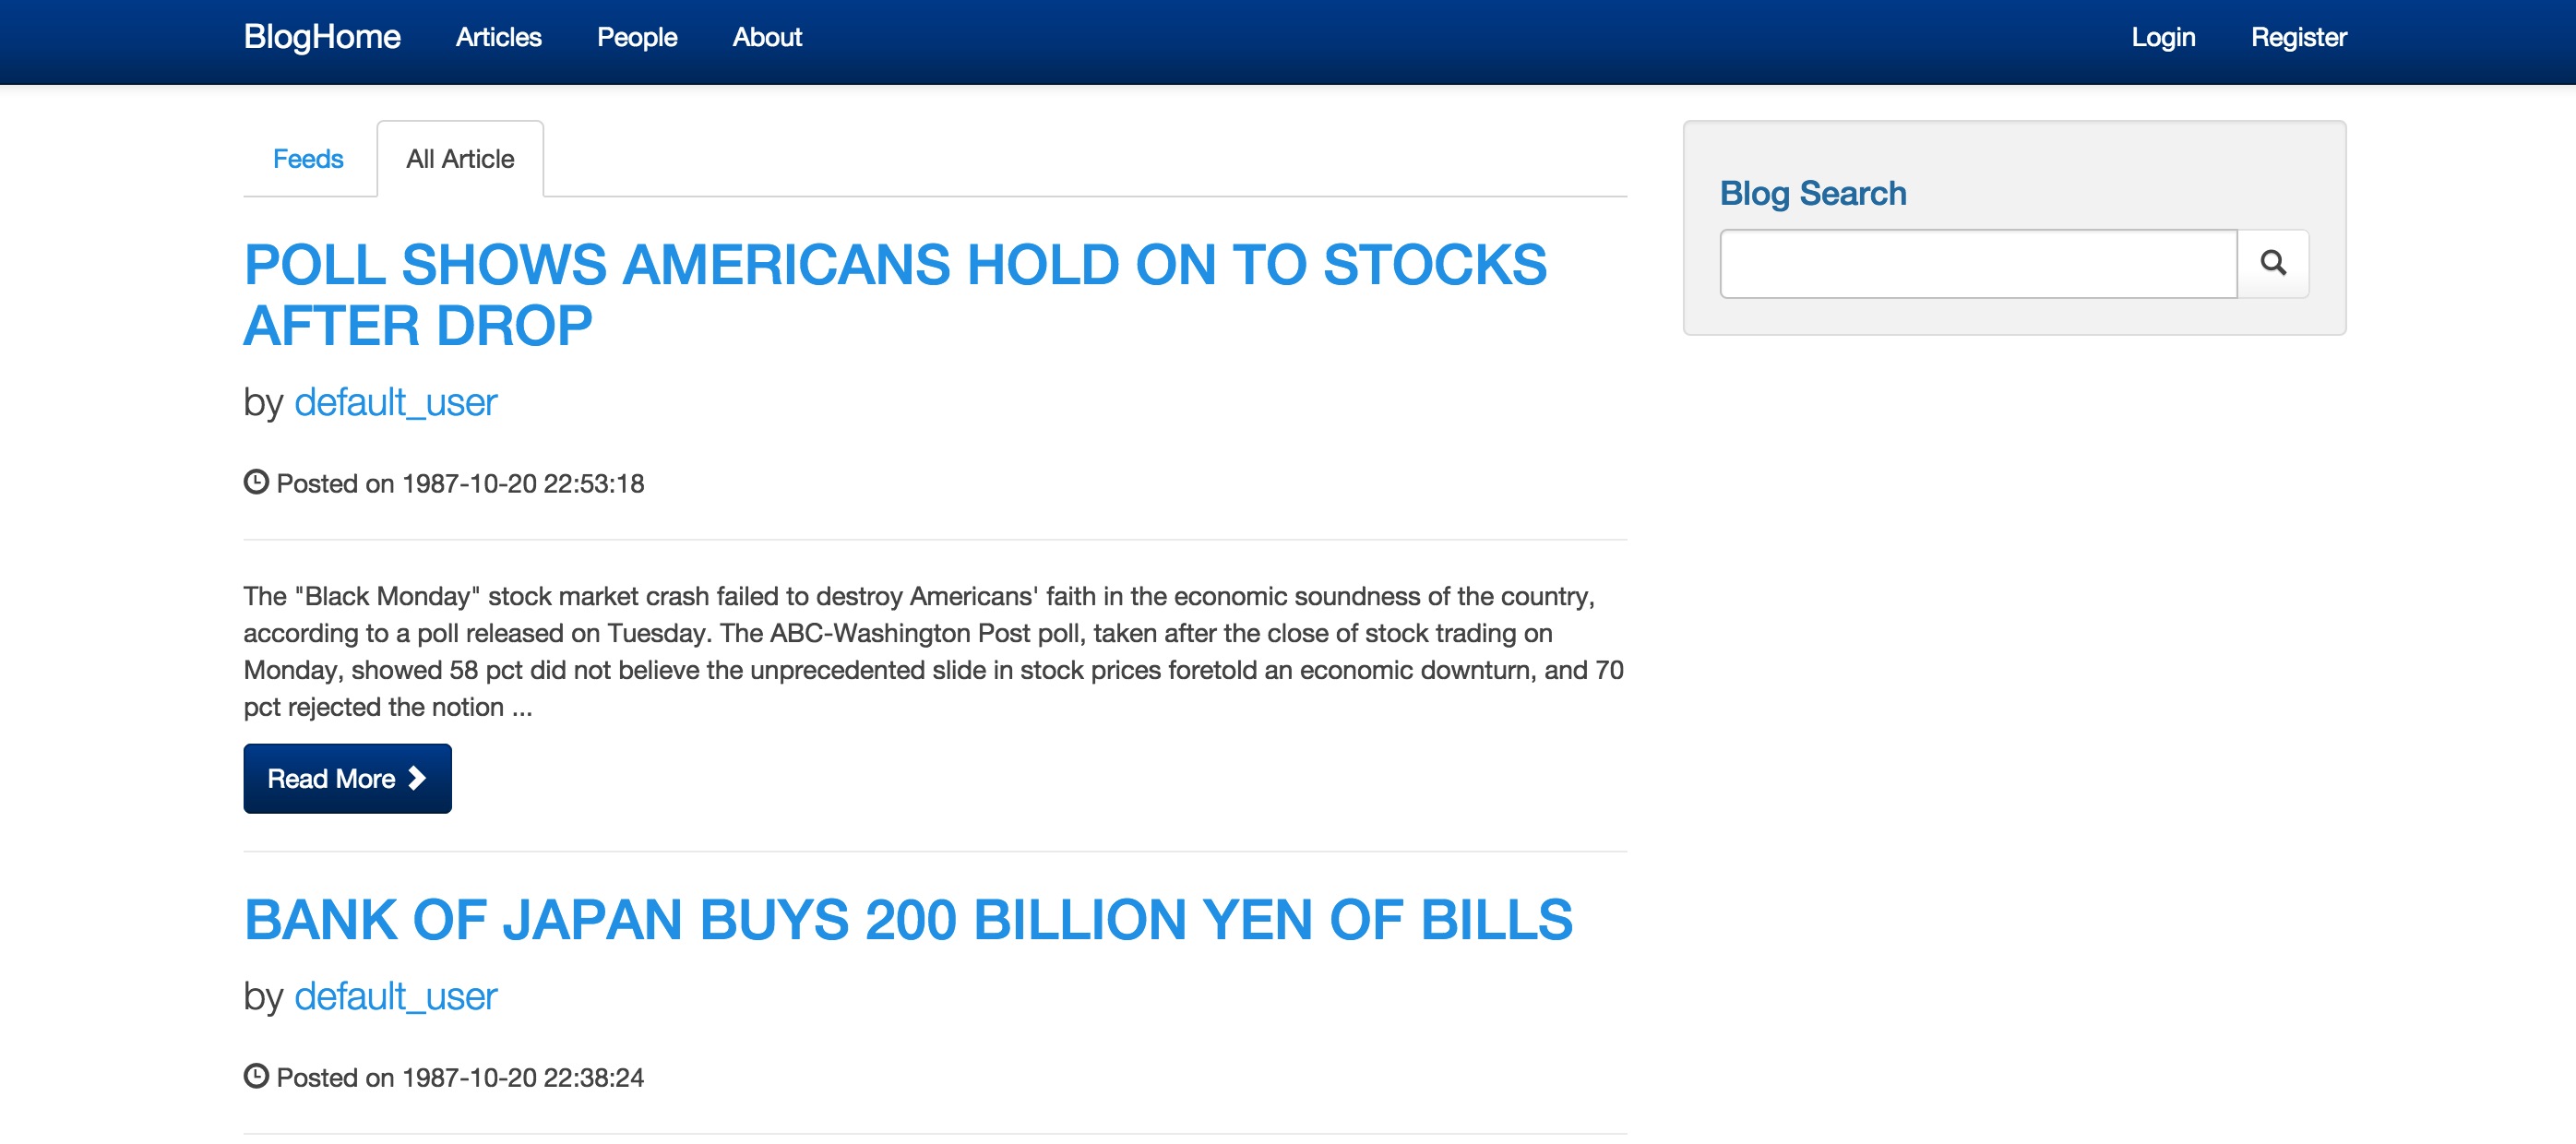
This means our blog system is officially up and ready for the next step!
2. Some Notes
The demo project is a some kind of blogging platform. For a simplified design it should have the following features:
- Our users, who are bloggers, can create, edit, delete drafts and articles
- All published articles can be seen by all users. Users can search for articles they’re interested in
- Users can comment on or “like” any article
- Users can follow other users, so they can receive feeds from them
The demo project is a good start. We expect you to finish it by implementing features above. We’ll divide these work into assignments for each chapter and the final project.
3. Show Me the Code
After you extract the demo project, you can see the basic structure of it. It should be more or less like this:
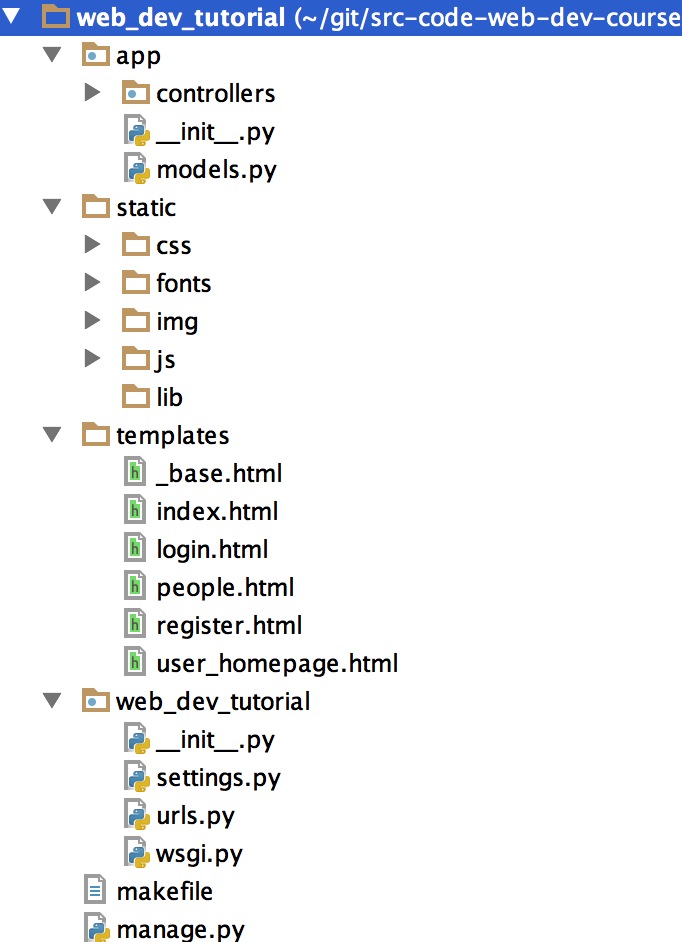
There’re several key components here:
-
The directory with same name as the project(in this case “web_dev_tutorial”)
This directory can be seen as the entry and configuration of the whole system(website).
- settings.py: this file configures basic settings such as Database connection, Log configuration, Template and static files path, Installed Applications, Used middlewares, Language, etc.
- urls.py: this file defines the Routing of the whole website. Routing can be seen as a map from any url to a given resource on the system (a function, a file, a webpage, or 404 not found)
- wsgi.py: A script file used to run the server. The content of this file is basically fixed so we can ignore it for now.
-
The directory named “app”
This is an “Application”. Django framework supports multiple applications existing within the same system, allowing them to support different functionalities of the system. For example, the “admin” system built-in in Django is another Application. Developers can install it to the current system by very simple configurations, and it won’t affect the other applications of the system, because they’re using different urls(all functions provided by Django admin system use urls with ‘/admin’ prefix, so as long as one doesn’t use this prefix in other applications, it should be fine).
Here we only have one application, because we don’t need more. Now let’s take a look the typical components in an Application:
-
models.py: This file defines the Models. You can consider them as tables in the database, or entities you’re concern about in the application. An example of Model looks like this:
class User(models.Model): ROLE_ADMIN = 1 ROLE_AUTHOR = 2 username = models.CharField(max_length=50) email = models.CharField(max_length=50, unique=True) password = models.CharField(max_length=50) description = models.CharField(max_length=512, null=True) role = models.SmallIntegerField() deleted = models.BooleanField(default=0) -
controllers.py: As we said before, a controller is something that responds to actions. In Django, a controller is a function, which takes the client’s request as parameter and return a response object. The URL Dispatching in Django decides which function to use when the client request resources from a specific url
-
urls.py: An application can define its own urls routing. If all urls this application uses have the same prefix, it’s a good idea to define the urls inside the application(without the prefix) and include them in the urls.py outside(with prefix defined). One example is: if a url is defined as “article” and is mapped to a function inside the application, and the most outer urls.py include it with “api” prefix, then the real url for that function is “api/article”. But this is really optional, so we don’t have it here
-
-
static:
This directory contains all static resources, such as images, css files, javascript files, etc.
-
templates:
This directory contains html templates. They’re essentially html pages, but come with a syntax that allow developers bind data to them dynamically. In the chapter MVC-View we’ll cover this in more details.
-
manage.py:
This script provides commands such as start the server, synchronize database to us. Sample usages are:
# Run the server on localhost:8000
python manage.py runserver

# Synchronize database, create tables for all models in all applications
python manage.py migrate --run-syncdb