Assignments for View
Last modified: 12-29-2014
We’ll be implementing the front end of the website for the assignments in this chapter. Since auto testing gets a little tricky and limited when it comes to the front end, so our test scripts don’t cover all the specifications.
-
Finish the implementation of homepage (
app.controllers.webpages.all_articlesandtemplates/index.html). The implementation should support similar functionality as the article search controller you implemented before.The full specification is:
-
Support searching. User can input the search query to the textbox in the right sidebar, and click the search button to search articles with title containing the search query
-
Support paging. It looks like this:
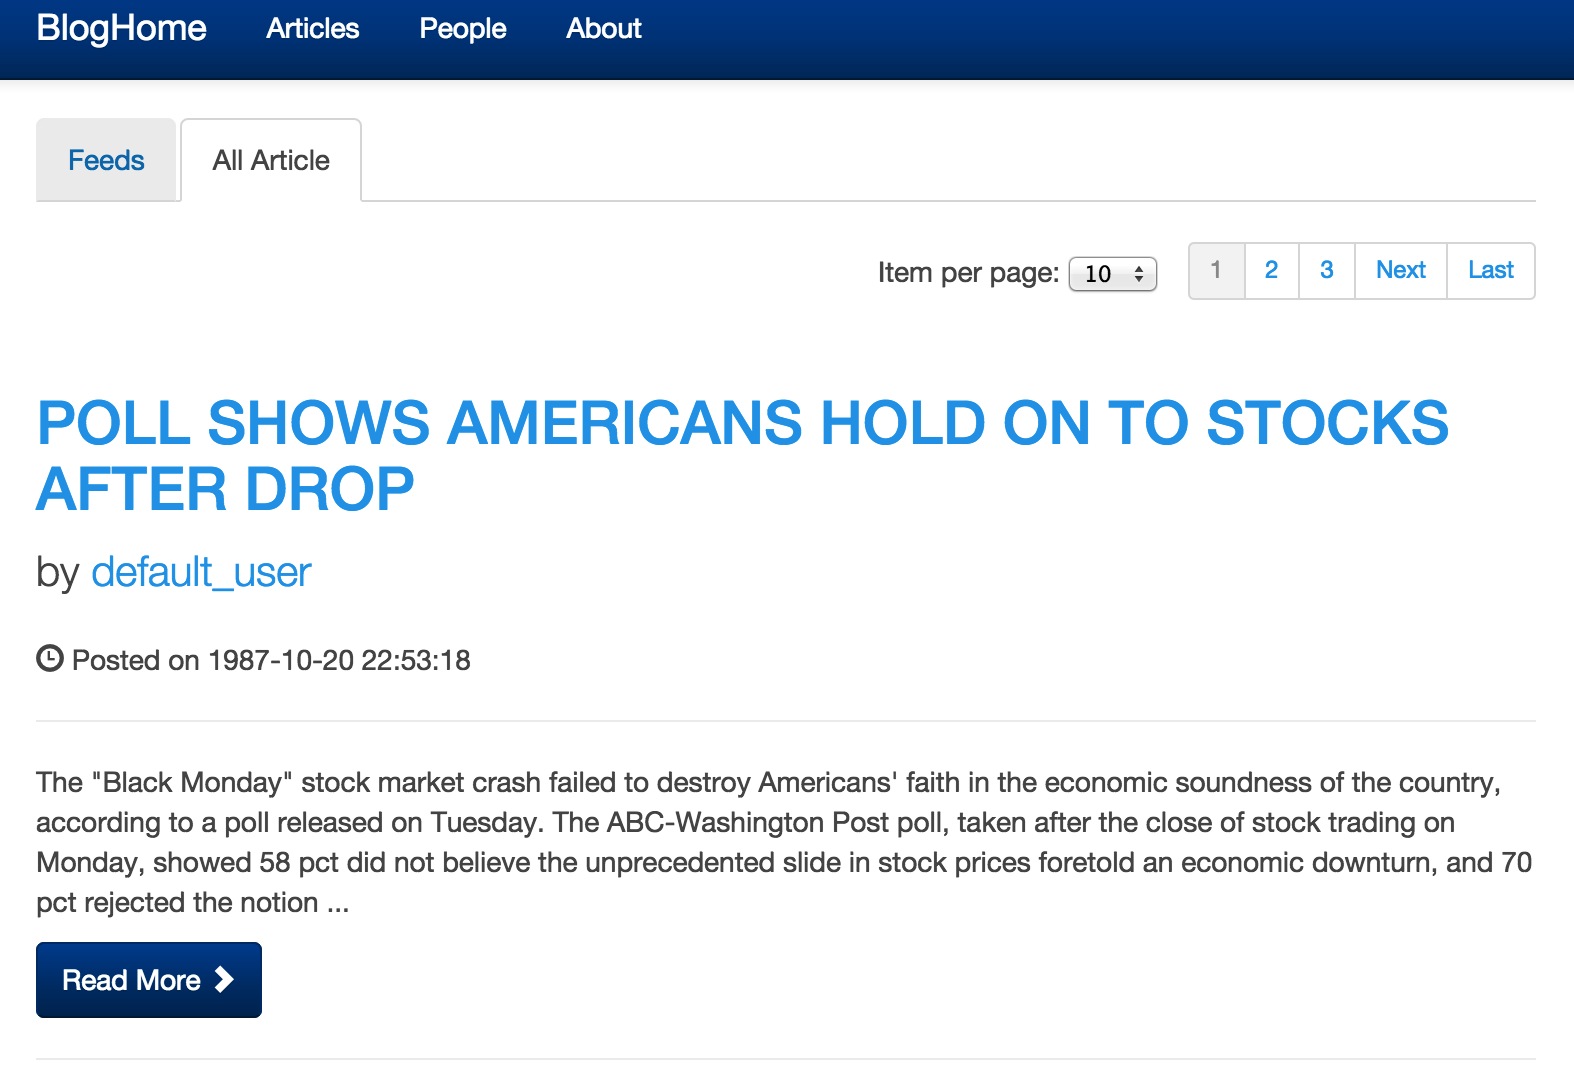
When user clicks on the pager, it jumps to the corresponding page, with query and article count per page preserved.
Use
make 4_view_articlesto test.Hints
-
You’ve actually implemented the searching and paging at the backend before, so you should try to reuse the code you wrote. One possible way to do this is encapsulate the code you wrote in the Model layer as a function, and call the function from different controllers
-
When implementing the paging, you should consider putting this part in a separate .html file and use {% include %} to include it, so you can re-use this part of code in other places. Since you need to preserve the previous query and article count per page, you might need to use javascript to substitute the
page=...parameter in the url to the one user clicks on. Specifically, you can construct a new url, and redirect the page to that url
-
-
Add edit article page. Specifically, you need to:
-
Implement a new controller (
app.controllers.webpages.edit_article), corresponding to the url pattern/edit_article?id=[article_id]. This controller returns the html page for user to edit the article with given id. Only the author of the article has access to the page. 404 should be returned for unauthorized visit -
For the html page, you can either create a new .html template, or, which we recommend, try to re-use the template of create_article.html
Hint: Re-using an existed template is good because any future modification will be reflected on both page, otherwise you’ll need to make the same changes twice. You should start by thinking what parts are different between these two pages and what parts can remain the same.
For example, the
actionattribute of the form is different. You can use {% if … %} for rendering different contents in the same template; and you can use<input value="...">to assign initial values for inputs, etc.As you might notice we use the AJAX FORM technique mentioned before here. You probably won’t need to change this part, but you may want to see how it works
-
Implement the rich editor. You can follow the instructions above, or find other implementations of open source rich text editor
-
You have already implemented the controller for updating an article in the previous assignment (
app.controllers.api.update_article). You just need to make sure that form in the edit article page submits to this controller
Use
make 4_view_edit_articleto test. -
-
Buttons
As you might see there’re some buttons in the article page now:
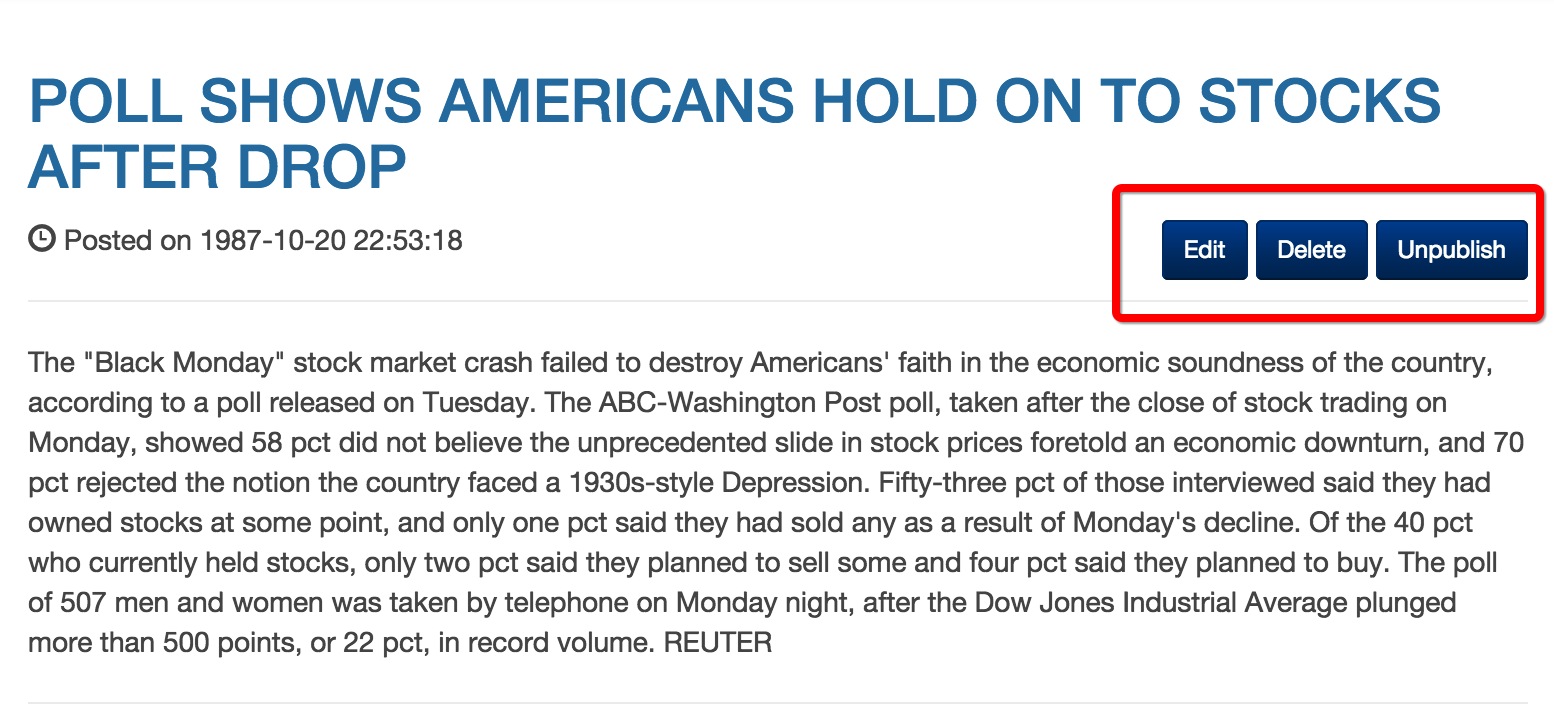
Right now they’re static and have no behaviors. Now what we’re expecting is:
-
Only author of the article can see this three buttons. When the user is not log on or the log on user is not the author, you should not render these buttons. Use Django’s {% if … %}
-
When user click on the edit button, he will be redirect to the edit article page
-
When the user click on the delete button, there should be an alert window saying “are you sure?” or similar stuffs and wait for the user’s confirmation. If he confirms, delete the article, and redirect to his homepage after the deletion is complete. Use javascript to listen to the click event of this button
-
For the publish/unpublish button, the text inside it clearly doesn’t make any sense. When the article is a draft, the text should be “publish”; if the article is a published public article, the text should be “unpublish”. When user click on the button, it should cause the state of the article to change from one to the other; when the update completes, the text on the button should also change. As the previous one, use Javascript for this
Use
make 4_view_article_pageto test.Hints
We can tell you two ways about passing data into javascript.
-
Directly render the data as variables in javascript. This is the brute-force way, not a very good solution
-
Render the data into html, or attributes inside html elements. For example, you can render the id of the article into an html element like:
<div id="article-data"
     data-article-id="{{ article.id }}">
</div>
and read the information in javascript with:
var articleId = $('#article-data').data('article-id');
Note In our testing script we search for these buttons by class names. That is, the edit button has class
btn-edit-article, the delete button has classbtn-delete-article, the publish/unpublish button has classbtn-change-article-state. We don’t expect this to change otherwise it will become very tricky for the test script to work properly. -